

______________________________________________________________
Part Two
Winter Sampler

*If a picture is all you need click on the image above for a Slide Show
This weaving became all about creating Texture, while utilizing the same yarn. It's about Plain and Weft-faced Weave. And it was about playing with Silk Ribbon, and how best to weave it into place. Plus, I continued to work with beads; but--- altered my technique, ever so slightly, to secure them in place.

Right Click on a photo and chose either
Open link in new tab --or-- Open link in new window
With this warping, I learned when it was OK to weave with double strands of yarns, or threads, and when it was better to weave twice around, with a single strand. [See the Pearl Cotton round pictured below.] Twice as much work, but considerably less of a hassle then repeatedly having to deal with untwisting the strands. But I love weaving with Pearl Cotton.
I've one slight mistake, pictured below, in the subsequent round. In that the yellow single ply yarn did not create the raised effect I was going for; but--- I left it alone. No Harm. No Foul. Just one of many lessons learned.
Oh! I should also state I actually have a new project in mind [I will experiment with it soon] that will feature this same cotton yarn, the same warping method, and how to address the thickness at the center [that I spoke to in Part One] with subsequent rounds of a technique that will hopefully result in a functional end product. So, you can expect to see more about this, and most likely on my studio Facebook page.

__________________________________________________________________
Continuing On
As I went about gathering possible yarns and whatnots, I had a little bit of silk ribbon [that I never got around to using for embroidery] stashed away, and thought this would be an excellent time to incorporate a totally different medium. While I've worked with ruched ribbons [which make for perfect novelty rounds] in other weavings, but I would quickly learn how this ribbon would present its own creative needs.

Weaving it as is proved quite uninteresting and fussy. So, I decided to distress it.
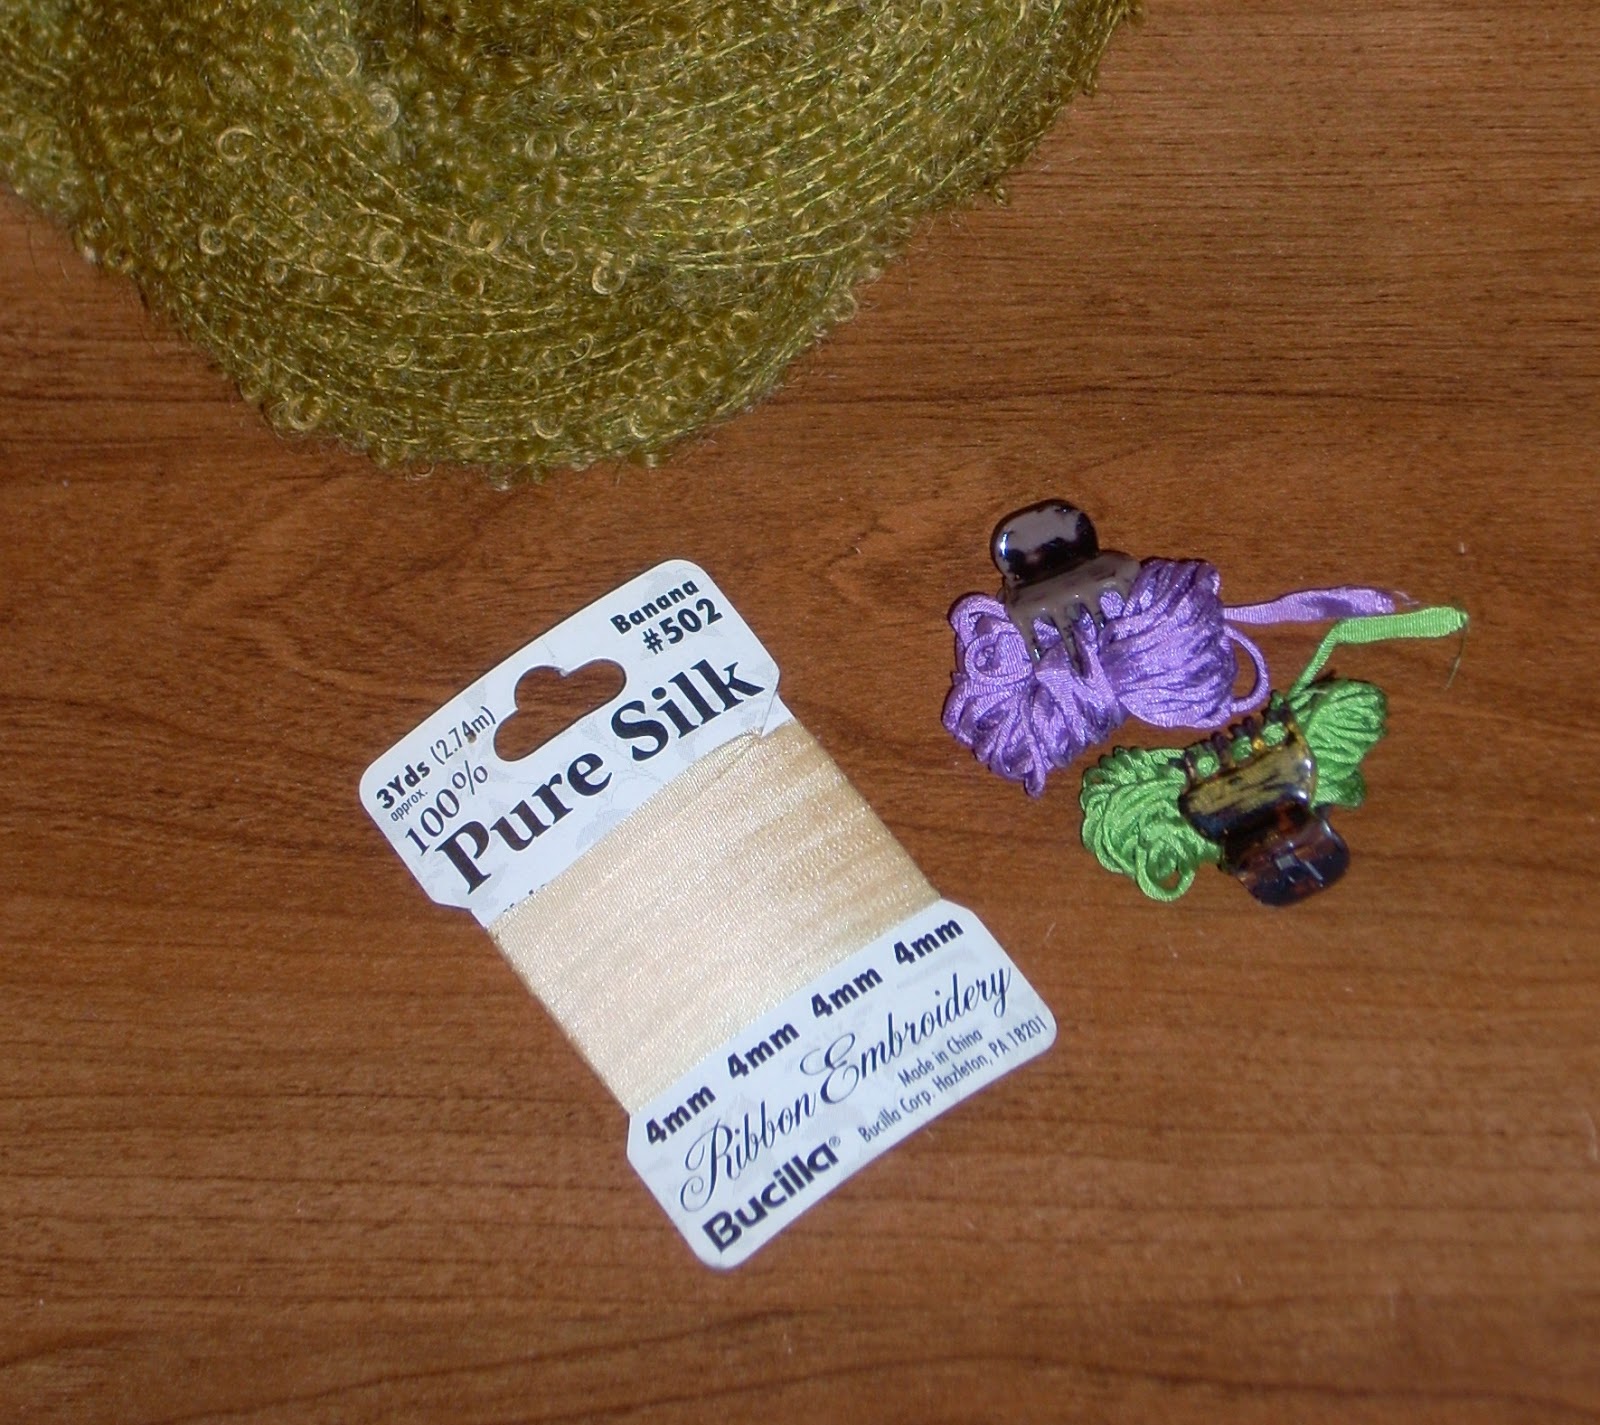
Washing it didn't really achieve what I wanted, so I ended up rolling it into little bundles. And leaving them set for a few days.

When I unrolled them, this is exactly what I wanted. And it wove into place beautifully. Albeit, though, one warp thread at a time.

There was no rocking the needle through multiple warp threads, and drawing through--- No. That merely ended up ruining the desired effect.

Tedious? Maybe. But it gave me the look I wanted. Instead of settling for the look I would get.

I thought this might be a good place to reiterate the easy method for measuring out your Weft, once you get farther out in your weaving. [See A Little of This-N-That]

One time around equals one woven round; weaving with a single strand of yarn/thread.
Twice around equals one woven round; weaving with double strand of yarn/thread.

For me, and how my weaving is progressing, simply temporarily securing the loose ends at the back is the easiest of solutions. Yes, it means I address them all at the end.

But this method made the most sense for me. As did starting and stopping all in the same area. And nothing, with certain exceptions, I intend to change as I move on to other weavings.
.jpg)
Now we're getting to my favorite round of this sampler. I love, Love, LOVE my Stained Glass round!

 SPECIAL NOTE: I had every intention of working in a few extra [new] shots of how I secured this round of beadwork. But, as I set up and subsequently edited the photos, it all seemed to beg for a post all its own. And, quite simply--- I was more than happy to oblige.
 Click here [or on the image on the left] for the placement and securing of the Stained Glass Round: Playing with Beads
I think you'll enjoy this little tutorial.
__________________________________________
Moving On
Working with multiple short rows of beads makes for lots of little wisps of thread to weave in late; but--- it was well worth the effort.
.jpg)
And what I found, as I enclosed the beadwork with Grace Gerber's beautifully hand dyed loopy mohair, is that--- because I likely chose to work with such similar colors [the Cathedral beads also come with Silver end caps], I needed to make the beads stand out again.

That's why I went back around with the metallic thread. It's more subtle in person; but--- it also helped to accentuate the openings; in between each short strang. Without it the lovely loopyiness seemed to swallow them up.

And I LOVES me lovely loopyiness. I can hardly see a future weaving without loopy mohair playing a roll in texture.

__________________________________________
Heading to the Finish Line

Once my Sampler was off the loom, I gathered together my crochet hooks and needles. I would need different methods and tools for weaving in and securing all those different threads.

And, as I indicated in Part One, before I could crochet the outer rim, I needed to secure certain threads and the braid ends.
I used the fabric glue only to hold the first over-lapping fold of the decorative braid; which I secured with a small hair clip. [Thank God, for hair clips!]

Once it dried, I then whip-stitched the loosened/cut ends, so they wouldn't fray.
.jpg)
After securing the Tie On/Tie Off threads, I was free to move on to weaving in the thread tails of the Stained Glass round, and went ahead and addressed them at this same time.

An old vintage crochet hook worked perfectly.
.jpg)

Rule No. 1:
When weaving in the ends--- [OK. It's not like I have a Rule No. 2, so--- just keep this in mind!]
Always check the front
before you snip off the waste threads on the back.
Below is a perfect example--you can see it just in front of the tip of the crochet hook--where I missed getting them enclosed; inside the Weft-faced Weave of the Loopy Mohair. The fix for this was easy. But it might not be so easy a fix, it at all, in other situations. So, play it safe and check first.

 Where the warping I showed in my first and subsequent tutorials [which works back to Suzy Brown's (WoolWench Handspun Yarns and Fibers) techniques for her Majacraft looms] is perfect for heavier and art spun yarns, this warping offers something more akin to Tapestry.
 And hands down, I love this warping method for the finished edge it creates.
It is ready, waiting, and begs to be crocheted.


 _________________________
Studio Tip
For anyone with dexterity issues, etc., I found that turning over one of my fiber cones, on its side, helps to bring the work a little higher and closer.
You could also use a sewing ham, or even a portable ironing board.
_________________________
But, there's no needing to find the Warp Loops that may have become hidden in the Weft, or experiment with how many chain stitches will be sufficient to join them.... it's a pretty cut and dry edging.
And now, back to those all those wisps and tails what needed attention. I had LOTS of wisps and tails to work in. Some I simply knotted; when there was no means of hiding them in the Weft. Others I wove in; when I could do so.

This was another perfect opportunity to utilize the thread cone. I could also use stick pins to hold it in place.

I found that un-plying the bulkier cotton yarn made it easier to either weave in or knot into place.

I slowly worked my way from the center to the outer edge. It was a lot of work. And I ended up in Recovery Mode because of certain rounds. But I LOVE this piece. This weaving that almost never was.

 And, I would be remiss if I didn't reiterate the Teachable Moment from an earlier blog post. Or at very least, echo my aforementioned: Rule No. 1
 Always, always, ALWAYS--- Always, always, always A-L-W-A-Y-S double check the front before you cut the threads from the back.
Just--- always. (~:

__________________________________________________
What's Up Next?
 That would be the Warping Tutorial. Yes! It's the last blog post sitting in the Draft folder.
The photos are all edited and loaded. I simply need to key in the instructional text.
It's actually very easy. The tricky part comes into play when tying off. But I've created some graphics to help with this issue.
But, I also may take some time to set up a few new photos with the Provo loom [which has a different configuration of pegs], so that I can cover the different tie off points.

In the meantime---
Leave any questions you may have in the Comments.
Leave any questions you may have in the Comments.
Or Facebook Friends can Private Message me.
Bye for now, and Blessings~
And Happy Weaving!


.jpg)


.jpg)
.jpg)

