Friday, November 15, 2013

Needle Weaving on a Circular Loom


Welcome to Part Two.

Needle Weaving, in the Round, on a Circular Knifty Knitter Loom.

Here you will get started on the needle weaving portion of the process.


The intent of this tutorial is to get you to the point pictured above.  This will get you through the first few rounds of needle weaving, which will help to even out and unify the warp threads. And then it will progress through the process of thread changes.

 
Below is where we left off in Part One.
 
 
But first, as a reminder: For the purpose of getting started, pull from what you likely already have on hand. Pictured below is cotton crochet thread for the warp. And for the next two rounds of weaving find something heavier, like a cotton yarn, and then maybe a handspun or fashion/novelty yarn.  Choose fibers with different textures. 
 
If all you need is a picture, click on the photo above for a Slide Show.

Pull your threaded needle up from behind the loom, to the right of your Tie On and Tie Off threads.
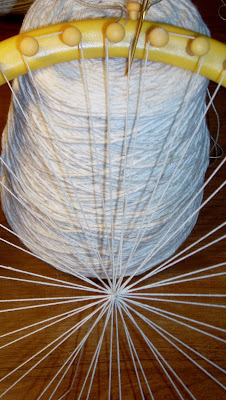

 
Below is a close up of the Center Knot.


With your needle start under the Tie On/Tie Off threads, and then over the next thread; under the next, etc. Simply repeating the over and under motion, for the next few sets of warp threads and then pull your needle through.


Pull taught, in a curved motion; working the Weft Thread down as close to the knot as possible. 

Use the point of your needle to help to pull the weft toward the center.

SPECIAL NOTE: This is why you want to use a blunt needle.


Begin the process all over, making sure you need to either go over or under the next Warp Thread.


At this point, you will find it helpful to rotate the loom as you progress around your weaving.


Below is a close up of how the first round will appear. 


Pulling a loaded needle toward the center knot will help you to see how you are progressing.


As you make your way around, back to where you started, your next round should begin with your needle passing over the Tie On/Tie Off threads.

See below for a close up:


As stated earlier, periodically pulling your needle toward the Center Knot, will help you to see that you are maintaining the proper over and under course.
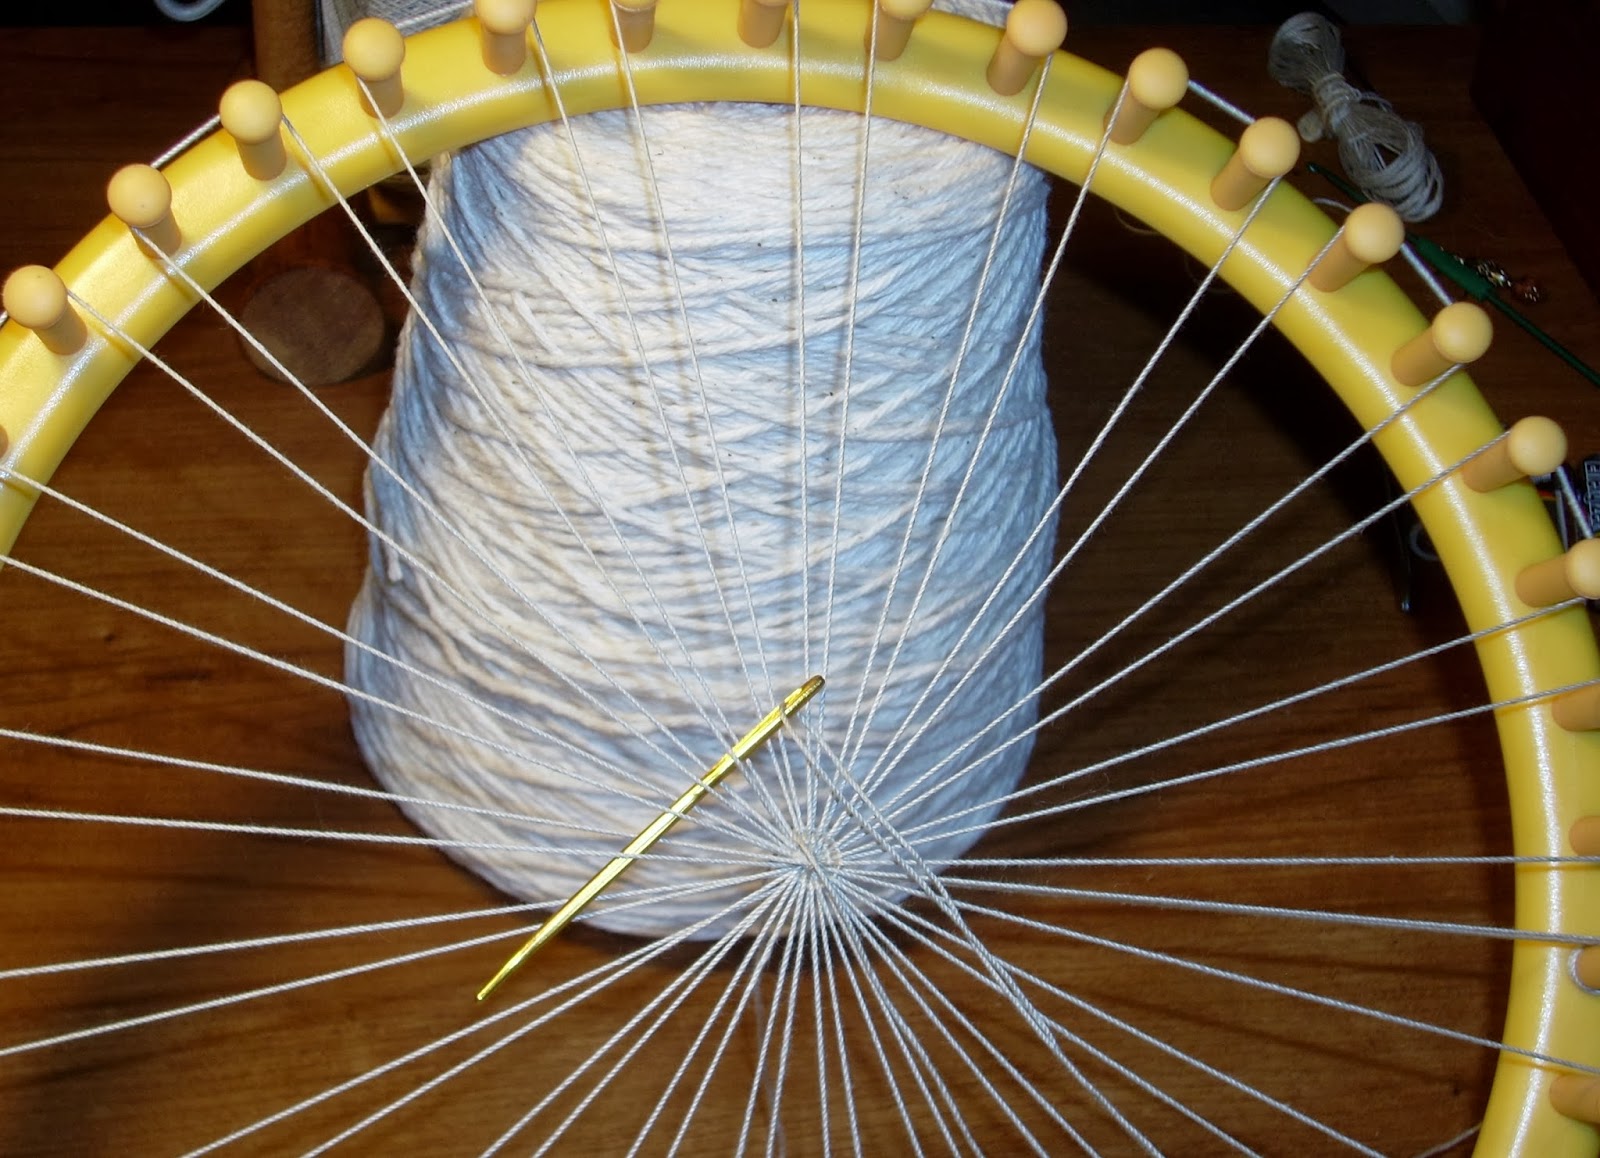

As you pull taught in subsequent rounds [See below], it is helpful to leave a bit of an arch of Weft Thread. And you will get the feel for just how much to leave based on the thread being used, and the round that you are on.

These first couple of rounds, though, will need to be as taught as possible in order to help flatten out, and create a more unified set of Warp Threads.  This will become clearer as you progress with your second round.


Below is a close up of the next round.


Pictured below is the completion of five rounds.

End with dropping your needle down, to the right of, and behind your Tie On/Tie Off Threads.


Turn over the loom.


Loosely tie together the beginning and ending threads.

 
You are now ready to change out to a different Weft Thread.
 
 
Working with the fiber that you have chosen for the second round of weaving, cut a length long enough for another five rounds.
 
 
Bring your new Weft Thread up from behind, and to the right of the next stitch that you will go over.
  
 
Then proceed picking up your Warp Threads, under, over, under, etc., pulling your needle toward your weaving to make sure you are starting off and progressing correctly.
 
[See below.]
 
 
A close up of the new round of fiber laid in place.
 
 
Here is where you will want to modify how much of an arch you work with as you pull your Weft Thread through and around.  
 
 
A close up of progressive rounds.
 

Below is an example of how the cotton yarn is coming untwisted. 

When this happens just pull up on your thread, work a bit of twist back in, and then continue to lay it in place.


SPECIAL NOTE: As you reach this point in your weaving,
you should be able to see why you wanted to make sure
you were working with an uneven amount of Warp Threads.

Below is the completion of three rounds, where the weft thread ends and is pulled down to the left [over] the Tie On/Tie Off threads.


Turn over the loom.

Here you can either tie another loose knot, or simply secure your end threads with a small hair clip.

[Very useful when you start a new round and/or work with fibers/threads that may be a little more slippery.]


You are now ready to work with your handspun or novelty yarn.

SPECIAL NOTE: If this is your first time weaving, for the sake of learning,
you might want to start with a commercial yarn. It is your choice.


As you pull up your needle and weft thread from behind, make sure your needle starts over or under the next warp thread.


A close up of the new round of fiber.


A close up of the needle pulled toward the weaving for a period check; making sure you are picking up the warp threads correctly.


When working with a loftier/hairy/fuzzy yarn, it is helpful to keep it looped around your thumb [or in some manner], so that the fibers do not snag, and keep it pulling smooth.


A close up of progressive rounds.


Below is the completion of eight rounds of weaving.


A close up of the completed rounds for this tutorial. 


Turn over the loom, and tie off loosely.


A close up of the back side of your weaving.


This is a good place to stop; for now.


Part Three [to be up shortly] will show how to lay in and secure a round of beads.


Part Three ~~ Laying in the Pearls, will be up shortly.
http://heartsongstudio2.blogspot.com/2016/02/services-rendered-wish-list.html
__________________________________________
Leave any questions that you may have in the Comments. 
 
Upcoming posts will include how to lay in and secure a strand of beads, as well as how to bind your finished weaving off of the loom.
 
Bye for now, and Blessings~


Friday, November 8, 2013

Warping a Knifty Knitter Loom for Weaving in the Round

This tutorial is designed to get you started needle weaving on a circular loom.
 
Part One will help you through the process of warping a Knifty Knitter Loom. And Part Two is where you will begin to weave.


PART ONE
 
Getting ready to warp the loom. 
 
For the purpose of getting started, pull from what you likely already have on hand. Pictured below is cotton crochet thread for the warp. And for the next two rounds of weaving find something heavier, like a cotton yarn, and then maybe a handspun or fashion/novelty yarn--fibers with different textures. 
 
Plus as your weaving progresses further outward, where the warp threads radiate farther apart, heavier and loftier yarns will feature nicely. And especially for hand spinners, this is a great medium to play with art yarns. 
 
* [If all you need is a picture: Click on the photo for a slide show.]
 
Pictured above are a few things that might be helpful throughout the weaving process.  Fellow Fiberistas might find their lazy kate a convenient way store and pull combinations of thread and cording. A rubberized matt will help to keep the loom in place. Especially if you prop it against something like a cone of yarn.  
 
Pictured below are some of the smaller items.  Some required.  Some are optional.
 
Blunt tip tapestry needles
Scissors
Small hair clips [for marking specific loom pegs. And later for temporarily securing loose yarn/thread tails] 
Knitting row counters [for marking any design elements as your weaving progresses] 
Crochet Hooks [helpful to have a couple on hand throughout the entire project, and for crocheting a bound-off edging]
Tweezers and a stick pin [both optional--Good for loosening, or to help untie slip-- or any other unwanted knots]
 
 
SPECIAL NOTE: This tutorial is based on using the large yellow circular loom.
The different sizes of the Knifty Knitter looms have either an odd or even number of pegs.
 
What is important, as you adjust this process--to fit the size of the loom--
is making sure that you end up with a ODD number of warp threads.
An odd number of threads will ensure a proper over/under weave,
and is why this tutorial will show a doubling-up at the Tie On and Tie Off peg.
________________________________________________________________
MODIFICATION INSTRUCTIONS 
The loom used in this tutorial has 41pegs; an uneven number. 
 
If your loom has an even amount of pegs, i.e. 40 pegs, then you can modify your warping
 and Tie On and Tie Off on the Anchor Peg; using the same peg count throughout.
 
If your loom has 42 pegs, them you can modify your warping
and Tie On on peg 1L and wrap around 21R [instead of 20R; simply moving one peg to the left], 
and then Tie Off on peg 21R [doubling up on peg 21R].
And you might want to keep peg 21R--the Tie Off peg--at the top, i.e. your doubled up warp thread peg.
 _________________________________________________________________
Let's tie on the running warp thread.
 
To begin with, keep the Anchor Peg positioned at the top. 
 
Use 2 half hitch knots to tie around the first peg [1L] to the left of the anchor peg.  
[3 knots--depending on the texture of the thread. Just make sure it is secure.]
 
Next, you will need to count around to the right 20 pegs, and mark the 20th peg [20R], with a hair clip.
[or a scrap of yarn. You can also use a marker, or pencil, and number your pegs accordingly.]
 
[See Peg Count Graphic below]


Peg Count Graphic
[FOR A LARGER VIEW OF THE GRAPHIC, RIGHT CLICK ON THE IMAGE AND CHOSE
OPEN LINK IN NEW WINDOW or NEW TAB]

You are now ready to continue warping the loom.
 
 
From the Tie On peg 1L run the warp down to the left side of the peg you identified as 20R.
 
Wrap the warp thread around that and the neighboring peg, to the right, and then run it back up toward where you tied on.
 
Wrap the warp thread around the two neighboring pegs, to the left of 1L, and then run it back down to the right of the previously warped pegs.
 
[See the Directional Graphic below for a more detailed look at how the warping progresses.] 


Directional Graphic
[FOR A LARGER VIEW OF THE GRAPHIC, RIGHT CLICK ON THE IMAGE AND CHOSE
OPEN LINK IN NEW WINDOW or NEW TAB]

If you remember playing with SPIROGRAPH, it is exactly the same kind of back and forth rotation.  [Thank you, Mary McAndrew, for making that charming correlation.]
 
Below is a close up of how the intersecting warp threads begin to appear. 
 
 
It might be helpful at this point, to move the loom around as you need. 
 
You will end the warping process and tie off where you started.  On peg 1L.
 
[See Tie Off Graphic below]


Tie Off Graphic
[FOR A LARGER VIEW OF THE GRAPHIC, RIGHT CLICK ON THE IMAGE AND CHOSE
OPEN LINK IN NEW WINDOW or NEW TAB]


Key Point---Reiterating the opening statement: 
Doubling up the tie on and tie off threads
helps to create an uneven thread count.
And you do want an uneven amount of warp threads. 
 
Again, just use half hitch knot [or 2 or 3] to tie off.
 
 
Below is a close up of how your intersecting warp threads will appear.
 
 
It's now time to knot the center.
 
Cut a length of the same thread that you used for the warp.
 
 
Cut a piece long enough to tie a knot, and then to needle weave the first few rounds.
 
Special Note: In retrospect, I should have created the following
example using a different color of thread. For now...... My Apologies!
 
 
Use the Peg Count Graphic below to help identify the following sets of pegs: 10L--11L and 10R--11R.
____________________________________________
 
MODIFICATION INSTRUCTIONS
If your loom has 42 pegs, modify the right count only to 11R--12R
____________________________________________
 

[If you need to, utilize the hair clips (i.e., 20R), or scraps of yarn, to hold your place--just in case you get interrupted.]    
 

Peg Count Graphic
[FOR A LARGER VIEW OF THE GRAPHIC, RIGHT CLICK ON THE IMAGE AND CHOSE OPEN LINK IN NEW WINDOW or NEW TAB]
 Below is a closer view.

 
From the under side of the loom,
pull up your thread from between pegs 10L and 11L.
Run it across, over the top of the intersecting warp threads,
and then down between pegs 10R and 11R. 

Note that your thread is inside the warp loop between the pegs on the left,
and in between the warp loops between the pegs on the right.
[This will be reversed if working with 42 pegs.]

Turn over the loom.

On the back side, leave about a 4" tail [or whatever is comfortable for you to work with], and then make your first tie. 

This will magically pull all the threads to create the center.
 
 
Finish with a Square Knot.
 
 
This is how the center will appear on the front side.
 
 
You are now ready to start needle weaving!
 
 
http://heartsongstudio2.blogspot.com/2016/02/services-rendered-wish-list.html
__________________________________________
Leave any questions that you may have in the Comments. 
 
Upcoming posts will include how to lay in and secure a strand of beads, as well as how to bind your finished weaving off the loom.
 
Bye for now, and Blessings~


Thursday, November 7, 2013

Leading the Way!

While I am by no means the innovator of Circular Needle Weaving [and I will write more on this at a later date], I may well be helping to spark a new use for the Knifty Knitter looms---for something other than knitting hats!

I posted certain of my initial results on Facebook and found that a number of my fiber friends would love to be able to re-establish a relationship with their circular knitting looms; in just this way. 

So, for the last few days I've been re-warping and weaving, and I'm getting things ready with respect to providing a pictorial tutorial to get everyone started on the basic techniques used in Circular Weaving on a Knifty Knitter Loom.  I'll show you how to warp the loom, tie off the center, and get you started on the first few rounds of weaving. So---  Stay tuned!

Blessings~
Laura