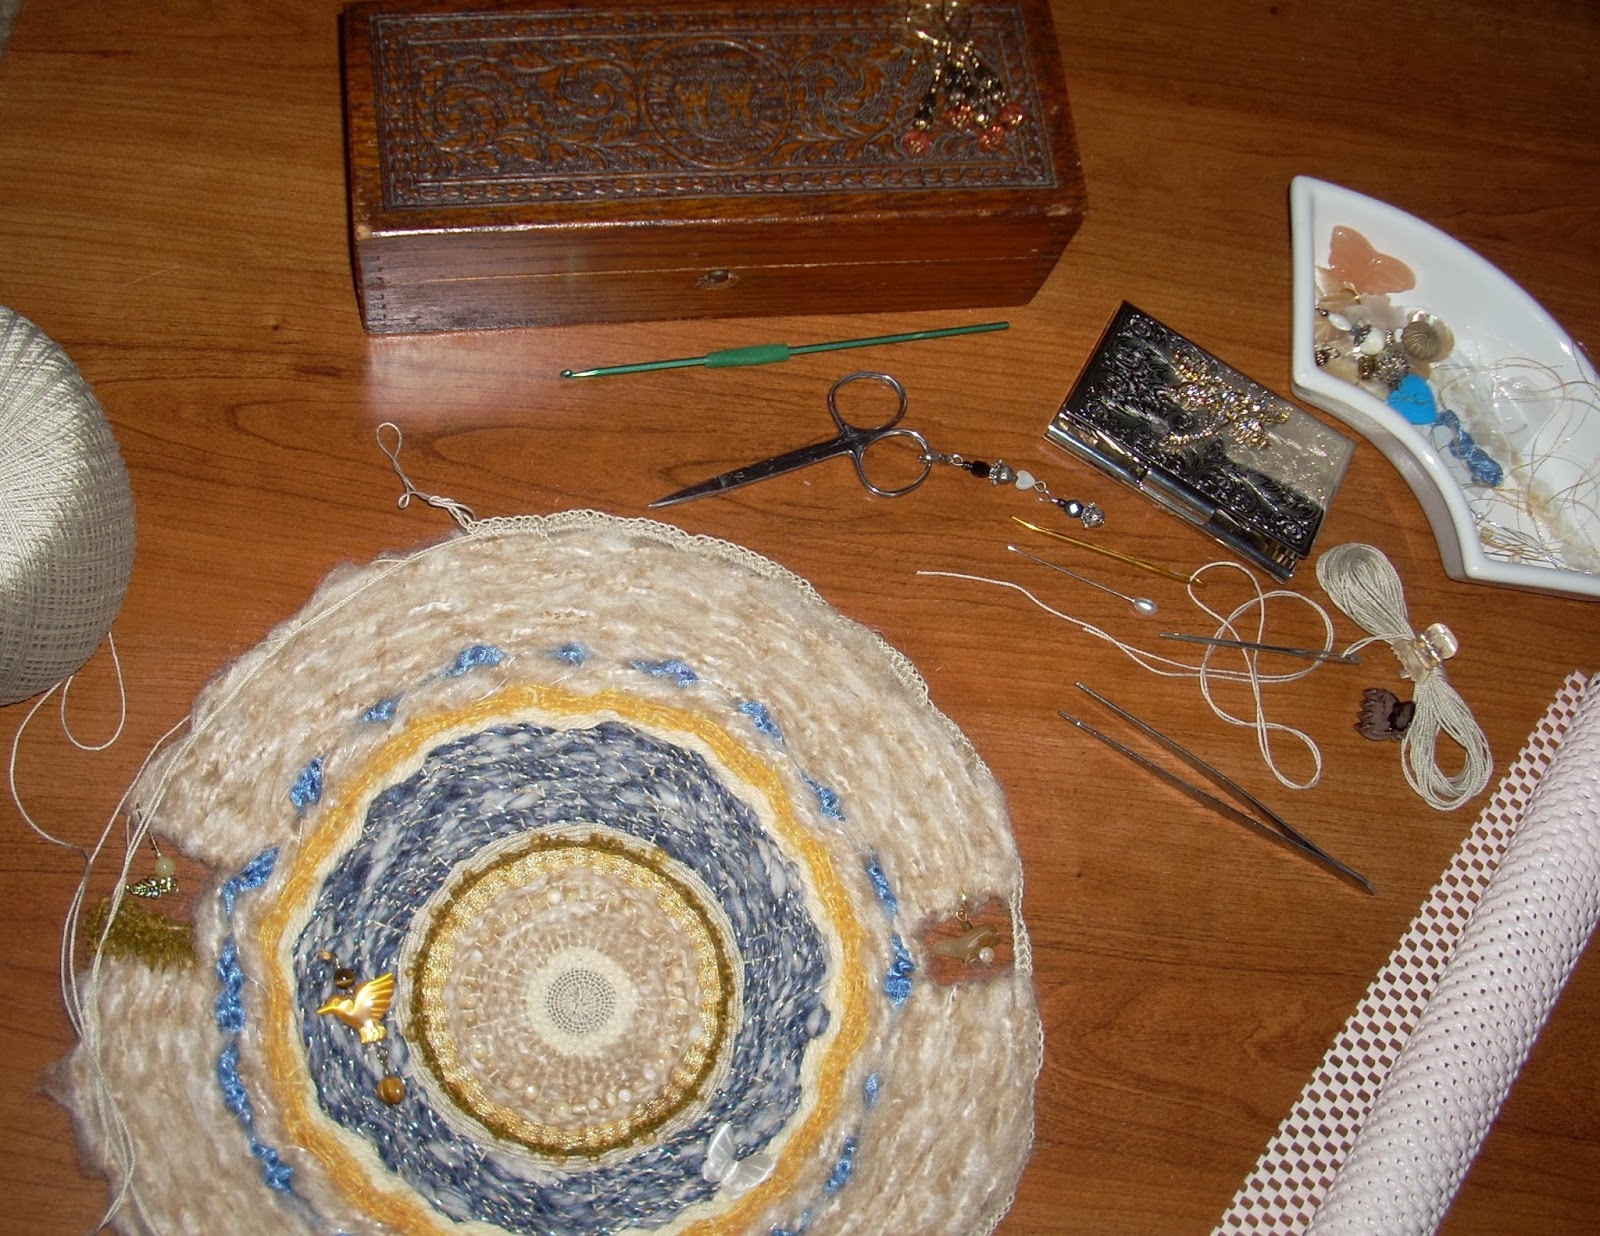
Moment of Truth!
Welcome to the last installment of this series of tutorials for Needle Weaving on a Knifty Knitter loom. This module will focus on:
Embellishments
Bind Off Options, and
Securing Loose Ends.
Time to Take Your Finished Project Off the Loom.

*If all you need is a photo, click on the image above for a Slide Show.
Well--- First let's go over how you can embellish, assuming you wish to do so, before you take your weaving off the loom.
Think of it as somewhat similar to working with a piece of fabric in an embroidery hoop.
Embellishments can be anything from beadwork to felted flowers to embroidery or free form sculpture.
Think of it as somewhat similar to working with a piece of fabric in an embroidery hoop.
Embellishments can be anything from beadwork to felted flowers to embroidery or free form sculpture.
The example below shows a hand-carved novelty bead sewn into place.
.jpg)
Special Note: For a larger view of an individual photo:
Right Click on the photo and chose either
Open link in new tab -or- Open link in new window
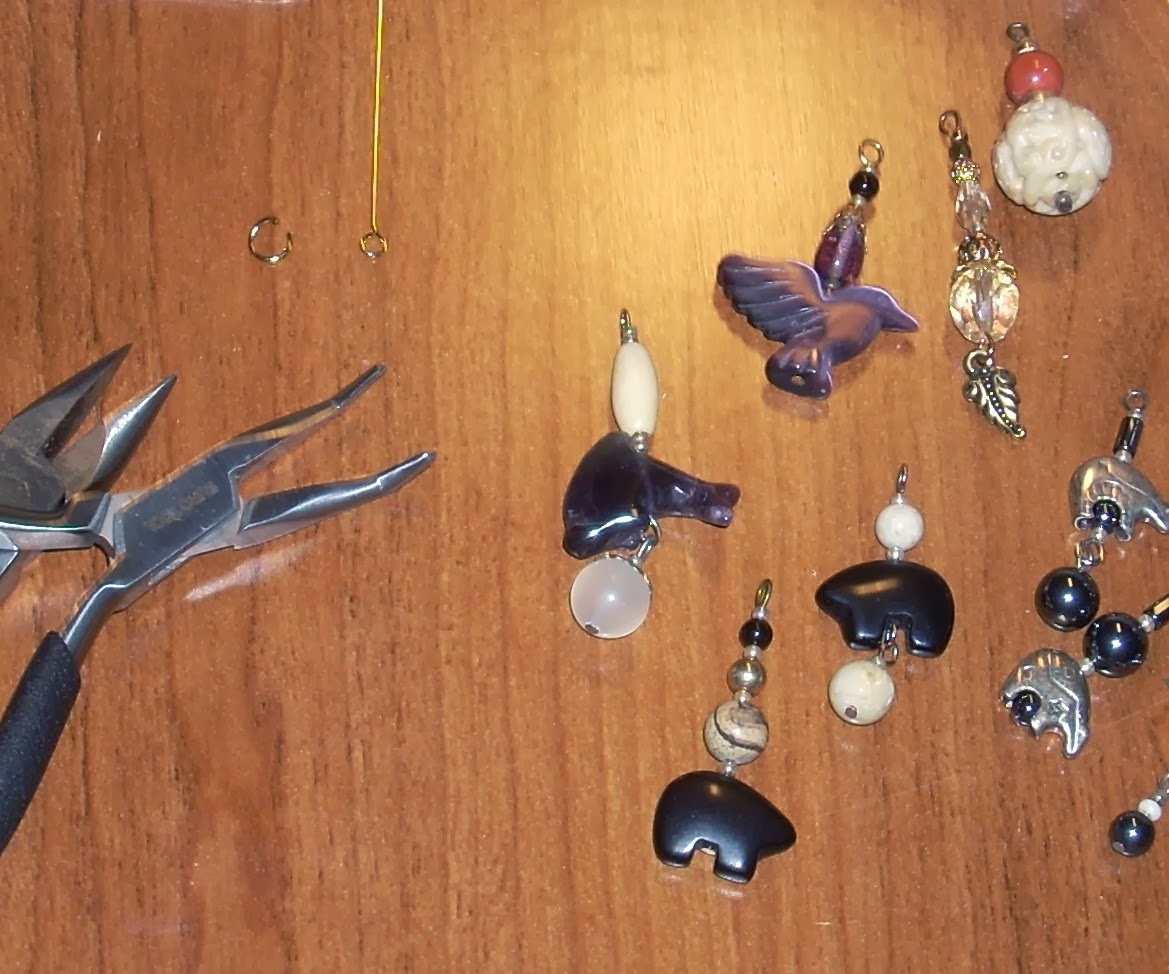
If you do any kind of beadwork, you likely have a stash of all kinds of trinkets, fobs, and/or charms just ready and waiting to be used.

Here is another option for sewing a beaded embellishment into place.

If you've left openings in your weaving [a design factor of choice] ....
.jpg)
Pull out, or shop for, the appropriate findings,
.jpg)
gather your tools,

and simply make sure you catch a Warp Thread inside the jump ring before you secure it in place.
.jpg)
_______________________________________________________________
Time to remove the hair clips.
Remove any hair clips from the back side so that your piece will lay flat once it is off the loom.

_______________________________________________________________
Off Loom Edging
Prepping an Edging Thread
Here is an option that will make a nice base for a crocheted edging.
The example below works with the same cotton thread used to warp the loom.
You will need a blunt tip tapestry needle, and an appropriate crochet hook for the weight of thread you choose to use.

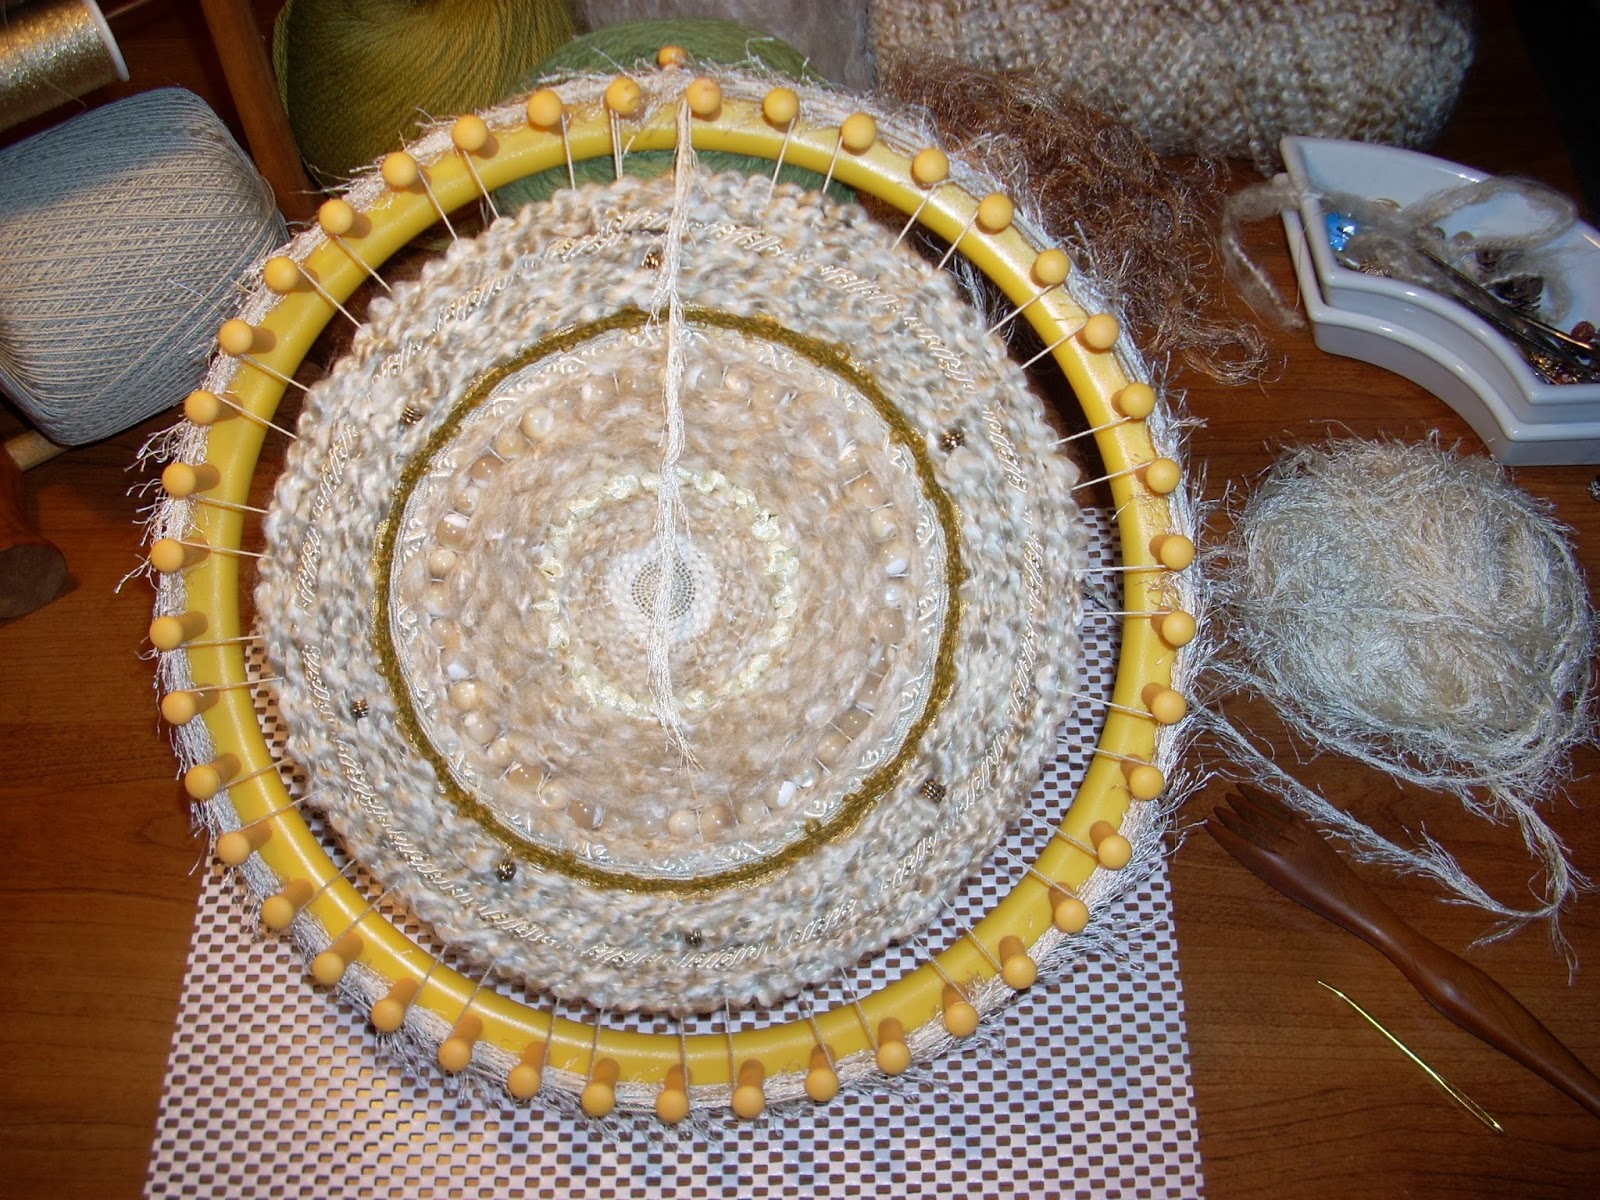
Tie on the new thread at the Tie On/Off peg [1L], using a Half Hitch knot.
This technique will run the thread around the outside edge of the loom, and will take a stitch through each Warp Loop.
SPECIAL NOTE: Keep the functionality of your piece in mind,
as you can chose to go once or twice around.

Work around the loom, running your tapestry needle through each Warp Loop.

As you pull the thread around, keep the same SPECIAL NOTE in mind that you learned while weaving. Do not pull the Edging Thread overly tight.

Another view. Different angle.

Again, the weight/gauge of the thread you are working with, and the overall functionality of your piece, will be your factor for going once or twice around.
Tie off at the Tie On/Off Peg [1L].
This is also the time to untie your initial Tie On/Off Warp Threads, and secure everything with a new knot.

The example above shows that the thread went around twice.
_______________________________________________________________
True Moment of Truth
Time to Take Your Weaving Off the Loom
It is now time to remove the loops from the safety of their respective pegs.
You can use whatever tool you find most comfortable working with to pop the Warp Loops from the pegs: your KK loom hook; a pair of bent tweezers; your fingers; etc.
Below is an example of how your Warp Loops and Edging Thread will appear just after removing your weaving from the KK loom.

.jpg)
Right click on image for larger view
If you chose to not run this Edging Thread, you can chose to leave the Warp Loops as they are. It is all about options.
Or you can crochet a set amount of single crochet stitches [or double crochet---the design options are unlimited], and then chain a similar set amount of stitches to the next Warp Loop.
.jpg)
The example below shows 8 stitches in each section.
8 single crochet stitches inside each Warp Loop.
8 single crochet stitches in each area in between.

Depending on the weight/gauge of your warp yarn [or thread], there will be a period of trial and error until you determine just how many stitches are necessary for the look you want to achieve.


.jpg)
And you can decide how many rounds to crochet to achieve your design goal.

The example here shows three rounds of crochet.

_______________________________________________________________
On Loom Edging
This option is simply a matter of crocheting the first [or only] round of single crochet stitches while your piece is still on the loom.
It is much easier than it might look.
And it is perfect for bulkier or lofty handspuns or novelty yarns.

Measure enough Edging Thread for once or twice around; in the same manner as documented above.
Tie new thread onto the Tie On/Off peg [1L], using a Half Hitch knot.

Close up view.

Run new Edging Thread around the outside edge of the loom, in the same manner as described above.

Again, depending on the weight/gauge of the thread, AND keeping functionality in mind, you can choose to go once or twice around.
Tie off with a Half Hitch knot at the Tie On/Off peg [1L].
And again, this is a good time and place to untie your Warp Threads, and get them ready for one clean knot.
Collect all loose ends and do a quick half hitch knot around the Anchor Peg.

Choose the appropriate crochet hook and using a Single Crochet stitch, crochet as many stitches as needed in between each peg as will help your piece to lay flat once it is off the loom.


3 Single Crochet stitches were used in this example.


Close with a Slip Stitch.
And then weave in the ends.


Untie the threads from the Anchor Peg.

Remove any hair clips from the back side.

Gather up the Warp and Edging Threads,


And secure temporarily with a Hair Clip.

Your piece is now ready to remove from the loom.

Use whatever method you need, or prefer, to remove your weaving from the loom.

_______________________________________________________________
Wisps of Tails and Loose Ends
Time to begin knotting and weaving in and clipping loose ends.

Certain yarns can easily be woven in using a tapestry needle or a crochet hook.

Certain fibers are more slippery than others.
Fray Check or a dab of fabric glue can help to hold knots in place.

Knots in 100% Mohair and certain man-made novelty yarns [i.e. eyelash yarn] do not hold very well.
The Fray Check can help you feel a bit more confident.

The ruched ribbon and braided cordings will require a few hand-sewn whip stitches
Once the cording is sewn and cut, use either the Fray Check or glue at the ends.
Another option: Once you finish stitching the cording together, wind some of the thread around each side, several times, secure, and then cut away the waste. The wound thread will hold any potential fraying in check.

Weave in the Warp and Edging Threads.


After a little bit of work, all of this--


becomes this!

NOTE: The example above IS the back side.
_______________________________________________________________
Congratulations on finishing your first
Circular Needle Weaving project!
This concludes the series of tutorials for this warping method.

______________________________________________________________

______________________________________________________________
What Comes Next?
There will likely be an upcoming blog post to talk more on how these circular weavings can curl, along with what things to consider [i.e. knowledge of weaving techniques, choice of warp, weft tension] as regards problem solving for future projects.
AND, as soon as certain pieces are readied--- there will be a post regarding Mounting for Wall Hangings
Since so many people ask, "What is this going to be?" I'm also concerned with future ideas revolved around utilitarian functionality. I, for one, see decorative AND functional pillows in my future.
With that said, I've been working with a new and denser warping. And I've another warping option that I want to experiment with before I put this current method out there; whether for the best or simply user option.

The warping option pictured here had it's challenges. So, I really want to play with another warping option so that those newer to weaving do not get frustrated with the process. But-- I'll have another blog shortly going over what to expect.


__________________________________________________________________________
I trust you've enjoyed this series. I am so looking forward to seeing what everyone is doing!

In the meantime, leave any questions you may have in the Comments.
Or Facebook Friends can Private Message me.
Bye for now, and Blessings~
And Happy Weaving!


.jpg)